(For demonstration purposes we used a Chinese Maple (Acer buergerianum))
Root grafting is the process where new roots are crafted onto a tree. Not all trees can be grafted. To have a successful craft you need a tree where the cambium (bark) naturally heals over and form callusing (scar tissue), and where the bark will readily fuse.
If the tree does not fuse or the cambium does not form callusing the new root will not fuse with your bonsai and the graft will fail.
Thread grafting with roots can be done by late autumn or early spring, before the first buds start to push.
To mention a few trees that suitable for root grafting is Chinese maple, Japanese maple, most Ficus species, Celtis sinensis (Hackberry), Celtis Africana (white stinkwood), Apple trees (Malus), Etc.
Root grafting can be used for several reasons on bonsai.
– To add roots on a bonsai where the tree does not have any roots and other methods failed.
– To improve the root base (nebari) of the bonsai, like in maples and figs.
– To create a specific feature on a bonsai, like air roots on ficus or additional roots for root over rock maple or figs.
–
In order to do root grafting, you need the following:
– Your tree you want to graft onto. (We chose a Chinese Maple. We want to improve the root base)
– Healthy thin seedlings or cuttings (preferably less than 3mm thick) of which the buds are still dormant.
– A drill – hand drill or electric with speed control
– 4 mm steel drill bit.
– Thin aluminium wire
– Tree seal or putty to seal the wound and prevent it from drying out.
– General repotting tools.
Before you start with the process first plan where you want to add the new root and mark both sides of the trunk where the drill needs to enter as well as where it must come out of the main trunk or root.

When choosing a seedling for the graft make sure that it will fit easily though the hole and that the buds on the seedling did not start to swell.
You will need to push the seedling through the hole that you’ve drilled without rubbing the buds off.
We specifically grow seedlings for root grafting, making sure that they are healthy, have short internodal lengths and that they are thin enough to go through the hole.
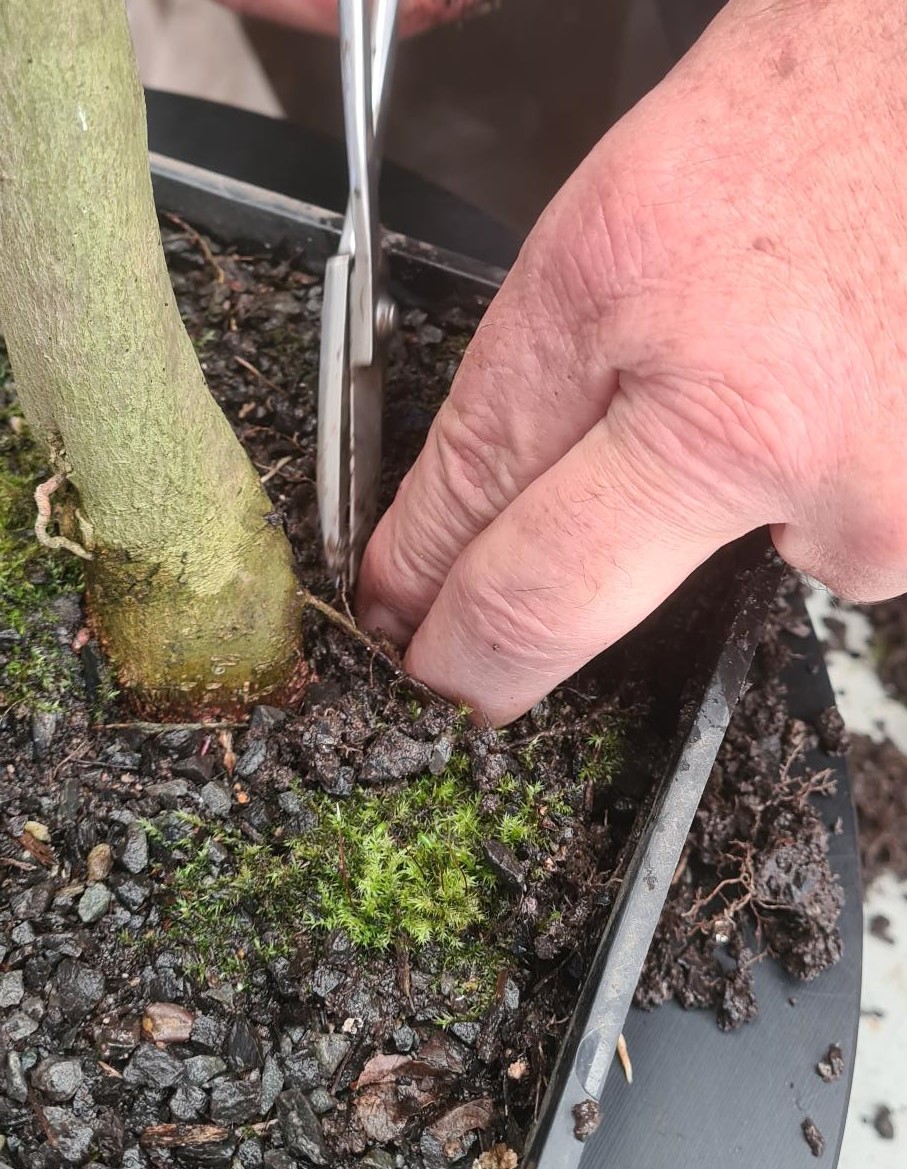
First clear the soil away from the place where you want to place your graft.
Decide on the correct angle that you want to place the new root.
Remember that you will need to clear space for the roots of the new seedling.
Take into consideration where the new roots will develop in the future.
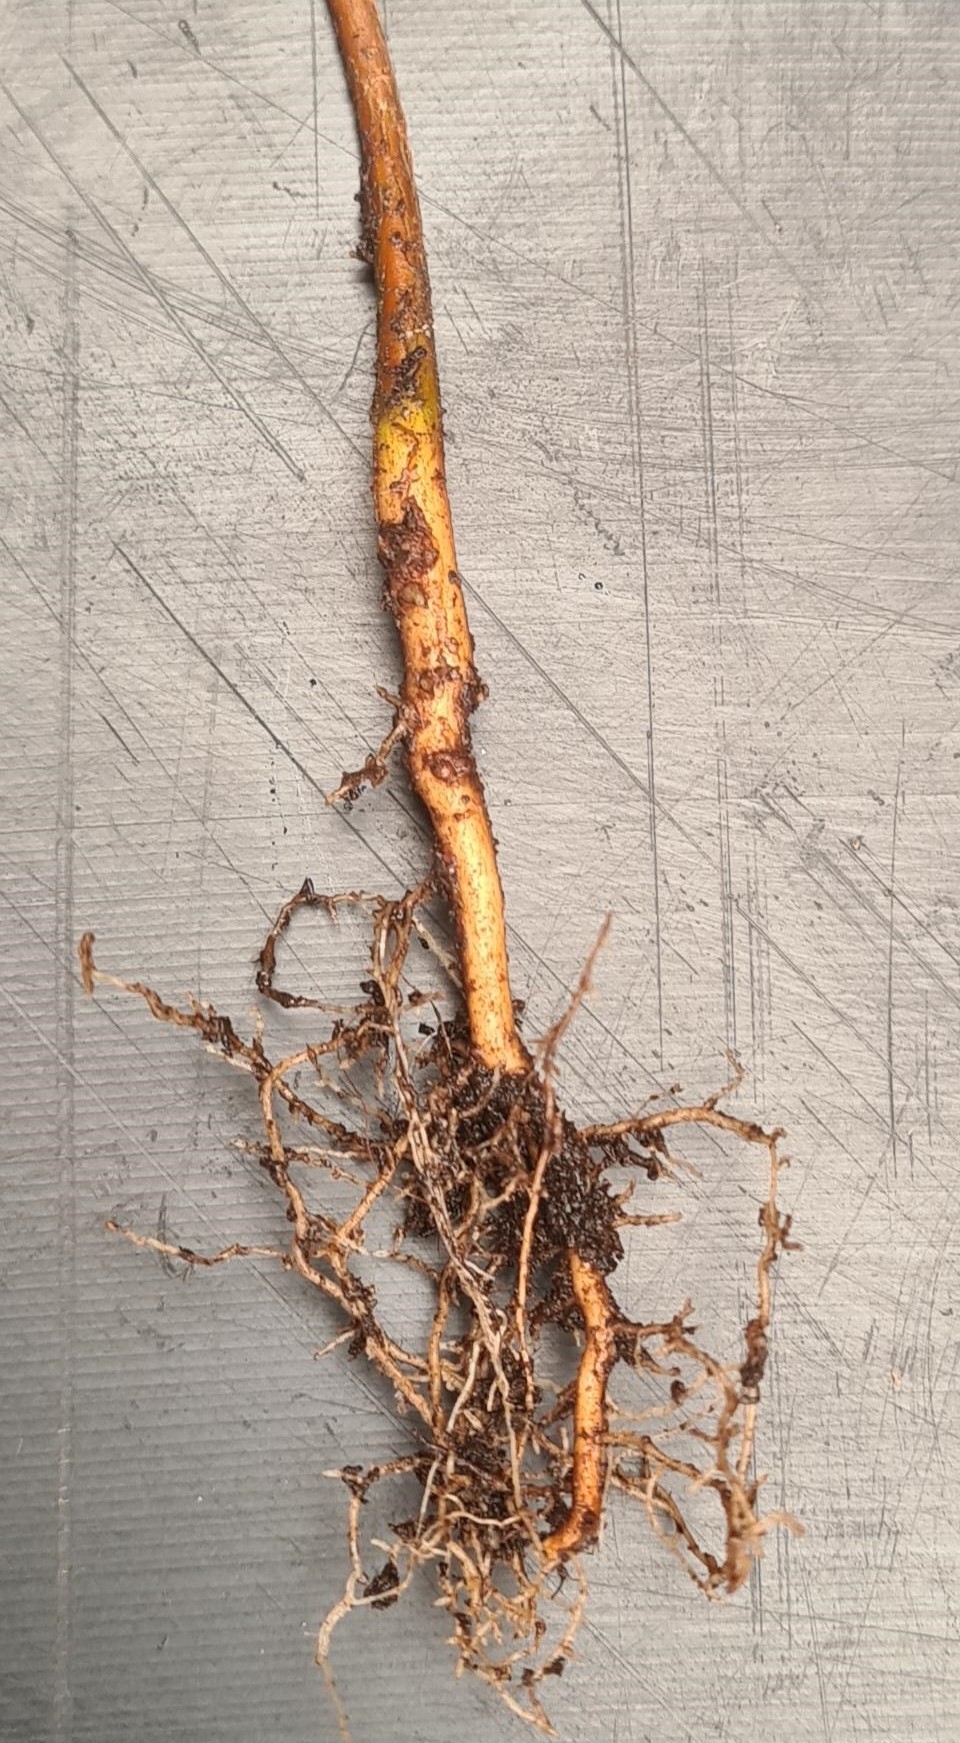
Clean the soil from the seedling’s roots so that you can choose the roots you would like to use to add to your bonsai.
Remove any unwanted roots.

Drill a hole with the 4 mm drill bit through the root/trunk, making sure that where the graft seedling enters and exit that there’s live cambium. Make sure that you drill at a slow speed so that the drill bit doesn’t heat up and damage the live tissue.
Drill the hole at the angle that you want the root to enter/attach to the main trunk.
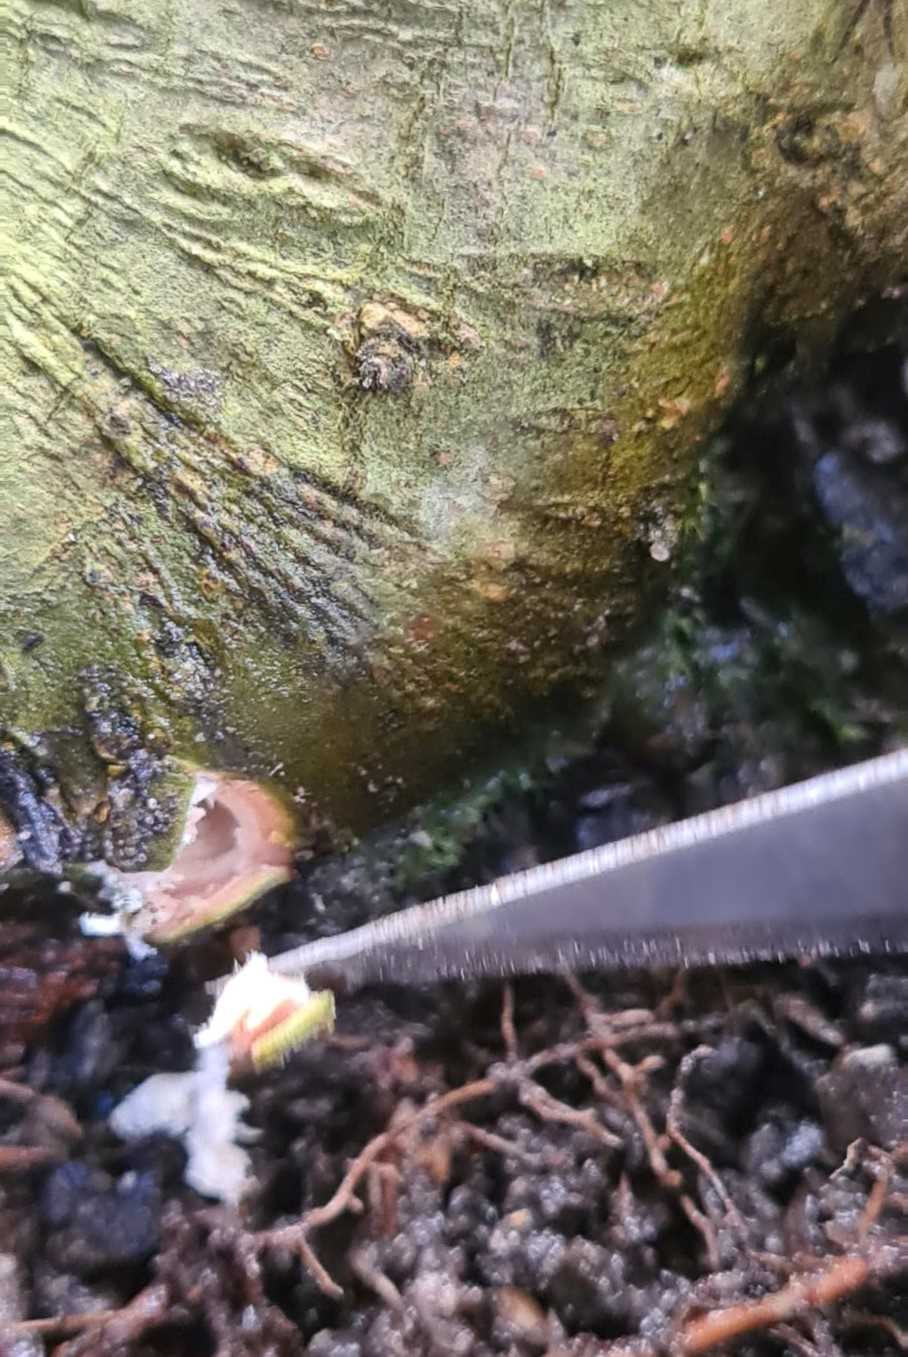
Clean both sides of the drill hole with a sharp blade. This will help the wound heal better and faster.
Clean wounds will heal faster than wounds with serrated edges.
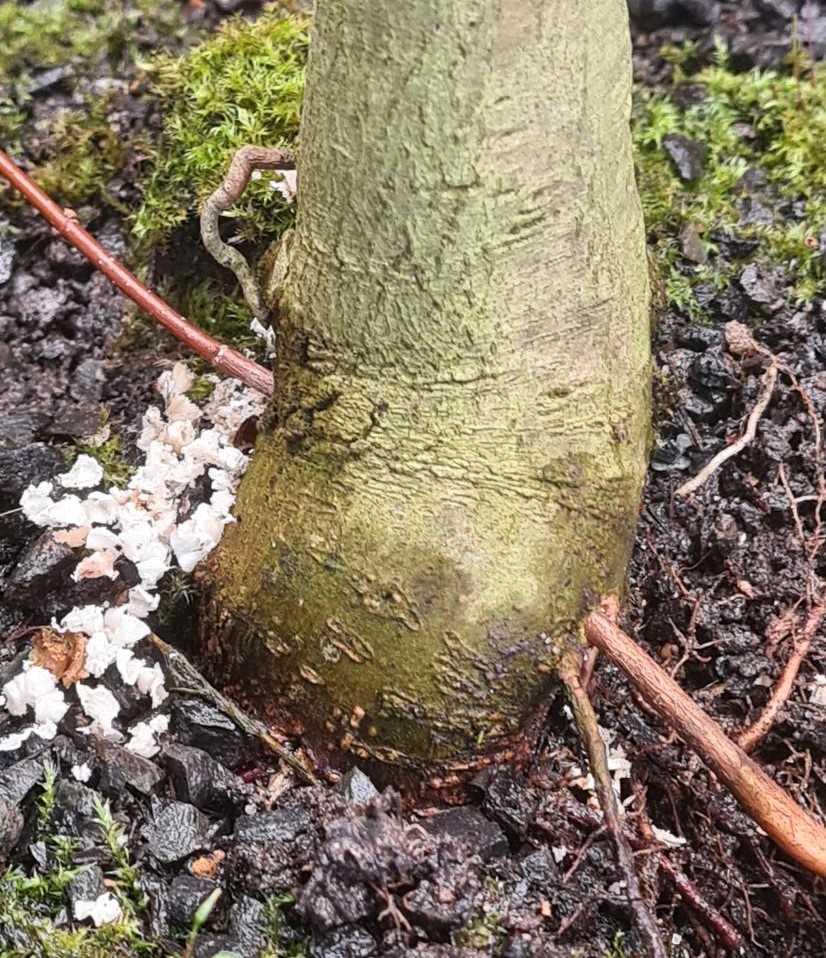
Push the seedling carefully through the hole, making sure that you do not damage the buds.
You will need the buds to grow strong and fast during the next season so that the seedling can fatten up and it can fuse with your bonsai.
Make sure that you got the seedling the right way around. Often in the excitement of the moment you can place the seedling from the wrong side.
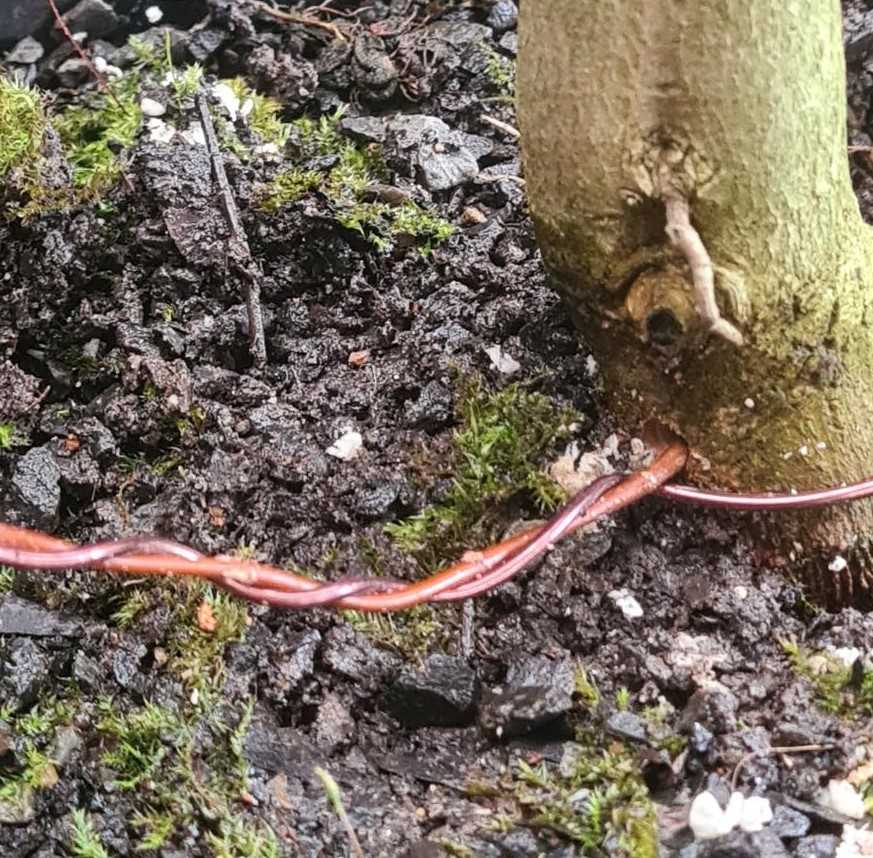
Secure the seedling to the main tree. You can use wire or putty.
If you use wire remember to check the wire every few weeks to make sure that it does not bite into the root part of the seedling. You do not want wire damage to the newly added root.

We normally only put one turn around the root side of the seedling so that its easier to remove it without having to remove too much soil.
Also use the wire to angle the top part of the seedling into a position where it will get good light and will not interfere with the branches on your bonsai.
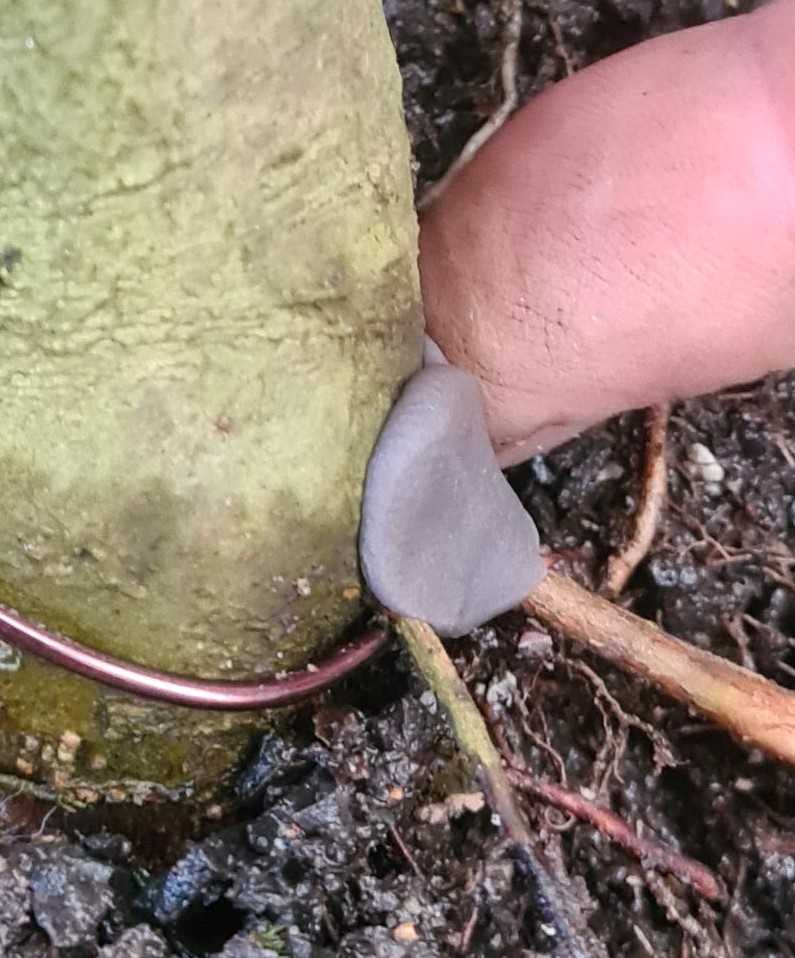
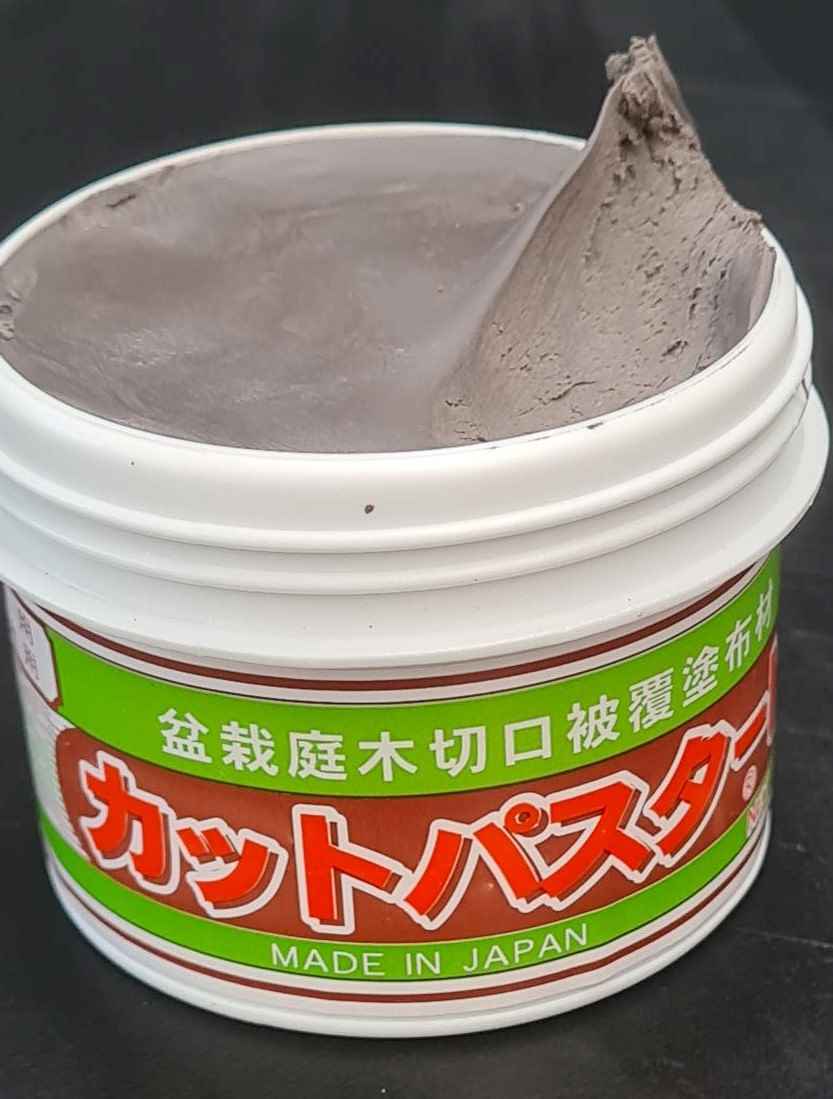
Seal both sides of the drill hole with tree seal or cut paste.
Sealing the wounds will help prevent the cambium from drying out and will speed up the healing process.
Cover the roots of the seedling soil, making sure that the angle of the root out of the main tree is correct.
The graft should fuse within a growing season, depending on the strength of the tree.

If your graft is successful the you will notice that the top part (2) of the graft will thicken faster than the root part (1).
This is an indication that your graft was successful and that the cambium of the seedling and the bonsai fused. You can now remove the top part of the seedling. Remember to seal the cut.
(We did the graft in this photo on a root that we removed from an old Chinese maple. We added the graft just to see if it would be successfully and to add additional roots. We also wanted to make sure that we got a new branch on the original old root. Because of the old age of the root we were not sure if it will give new buds. Maple roots seldom push new buds. We now have the option of
- removing the graft’s root, developing the rest as a new tree,
- removing the top of the graft, keeping the new root and see if it will bud back
- or we can keep it all and develop a new bonsai out of it. )
